

The control panel needs some consideration. For my bartop, I wanted joysticks and buttons for two players. I also decided on six buttons per player to allow most games to be played. Many older arcade games only require one or two buttons but fighting games may require eight. I think I would have chosen eight buttons if I was making a single player machine but, with two players side by side, eight buttons was either going to be a bit crowded or I would have needed to make the machine wider.
There are a few games which require a single player to use two joysticks. My favourites are Robotron 2048 and Battle Zone. You can configure these games to use a single joystick and buttons but it is much easier and more enjoyable to use two joysticks.
I decided to not complicate things further by adding a trackball (for games like Missile Command) or a spinner / paddle (for games like Pong). This might be covered at a later date but decide if you want them before you start to design your layout.
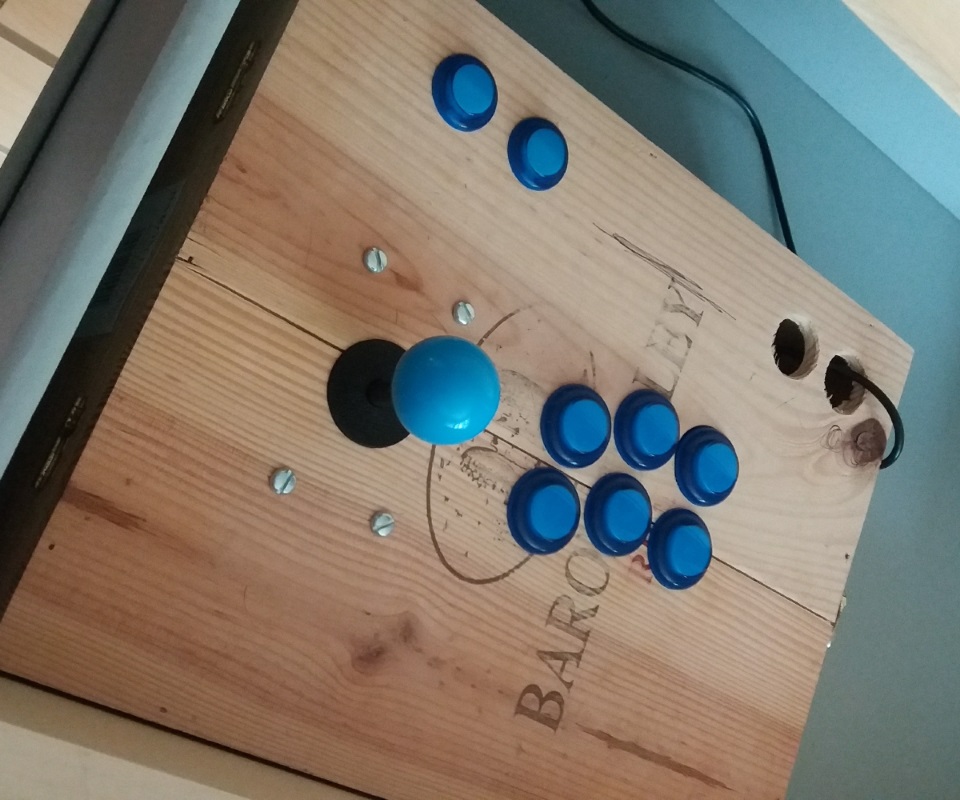
Once you decide how many buttons, you need to look at button layouts. This is personal preference and I looked a lot of alternatives. It's best to look at this on the internet to see the options. I made a mock up of a single player set up so I could test the distance between buttons and comfort to use. I used an old wine box as per the picture below but I've seen people use cardboard or plastic boxes to test their final design.

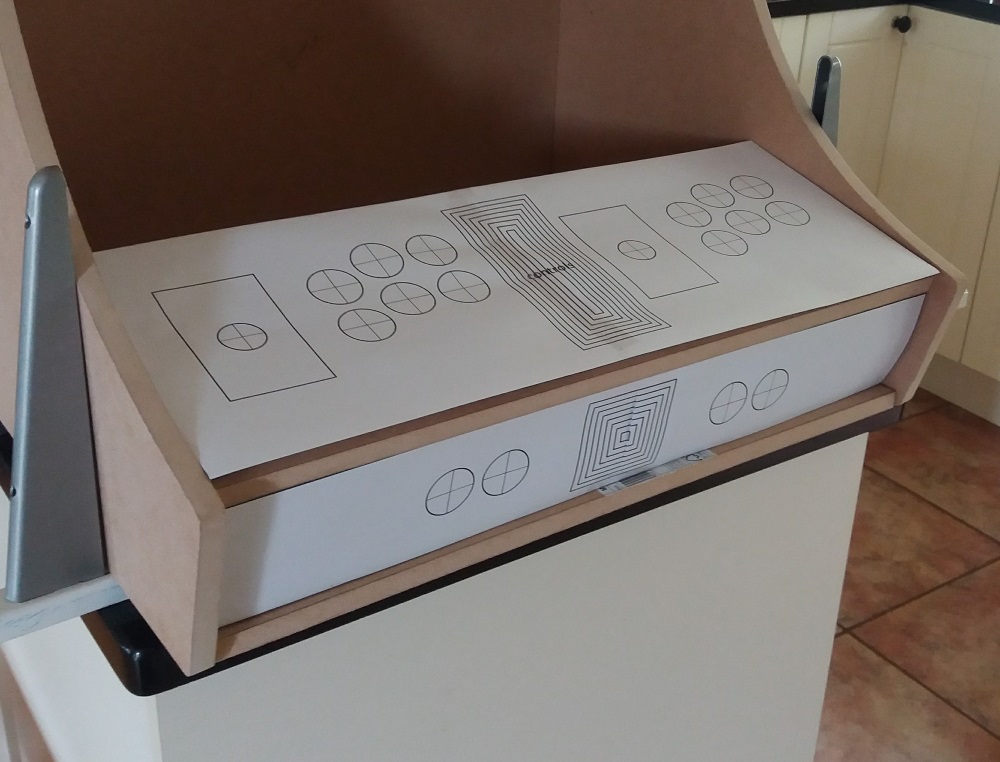
Once I was happy with the design and position of the buttons and joysticks, I made a drawing in Microsoft Powerpoint. I know that's an odd choice but 1) I am very familar with it and 2) you can enter real measurements. I started with a rectangle of 500mm wide and 20mm deep and drew in the buttons and joystick positions. I printed this over two sheets of A4 and that's why you can see the strange box designs in the photo below; these help me join the two sheets together.

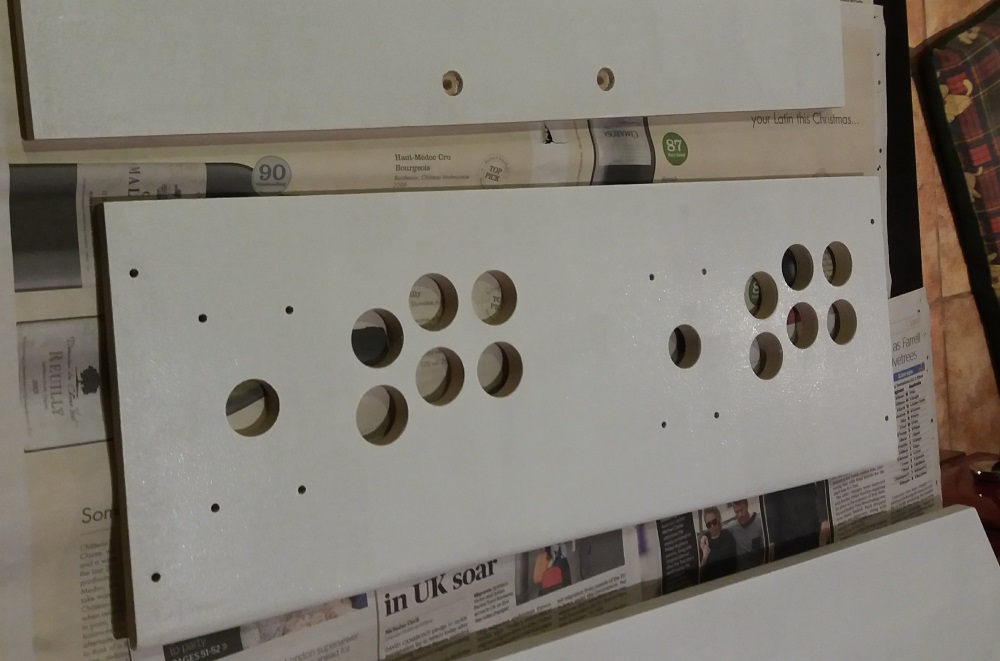
From here it was easy to mark the centre points for each hole I needed to drill and then drill, making sure I used the correct size bits for the buttons.

One thing I haven't mentioned yet are the buttons on the front panel, two for each player. Again, you can have different configurations and update your software accordingly. I chose two. One is a select button and also acts as a coin input for the arcade games. The other is the start button. You can set up "free play" but I decided two buttons per person was right for me.
If you'd like to comment on this article or suggest any changes, please use the form below.