


Link to original planer sled article
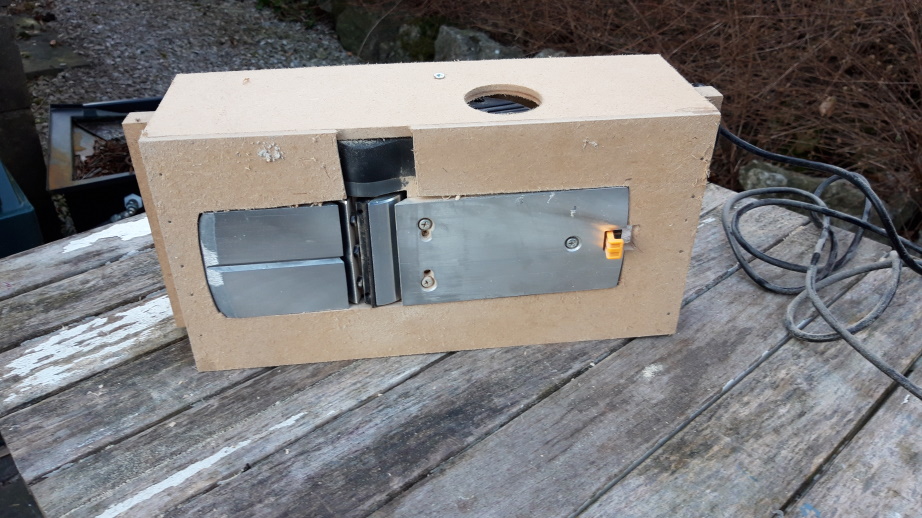
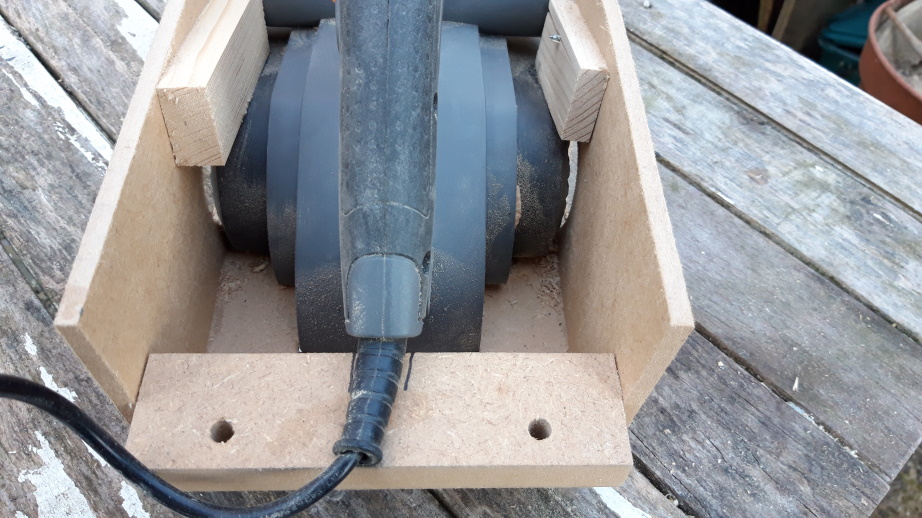
A few people have asked me about the carriage which holds the planer. My carriage fits my Titan electric planer but most planers have a similar design. My carriage is not very well engineered but it works well. Please use my design as a starting point but there will definitely be improvements you can make.
Firstly, I made sure I drilled holes for the air vents and the dust or chip port. These must be open otherwise you will overheat your planer and clog it with chips.
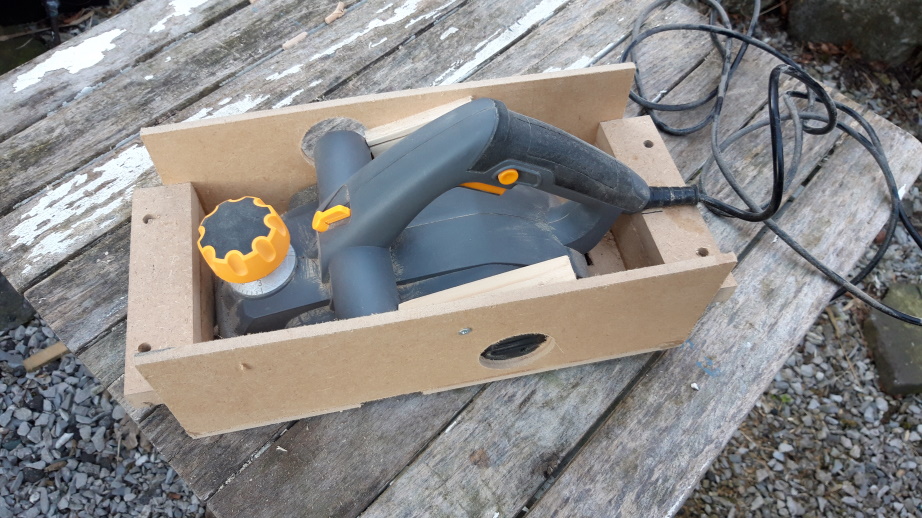
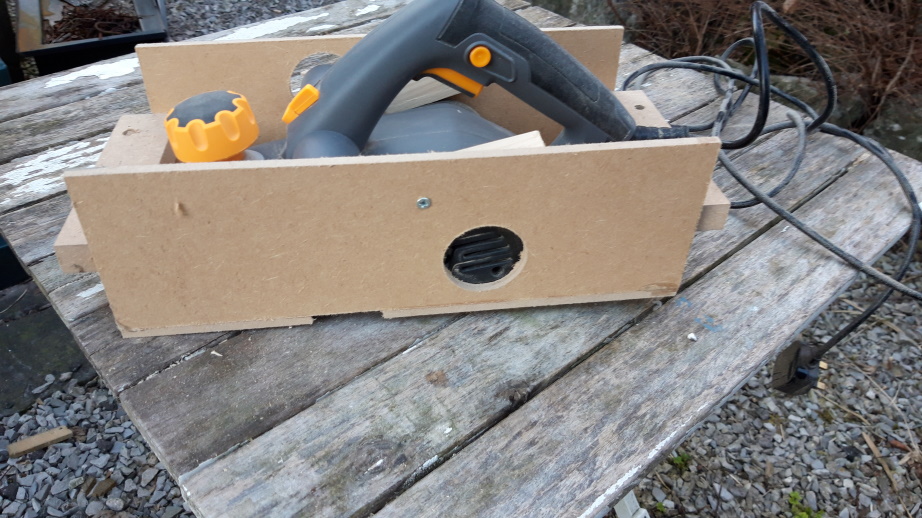
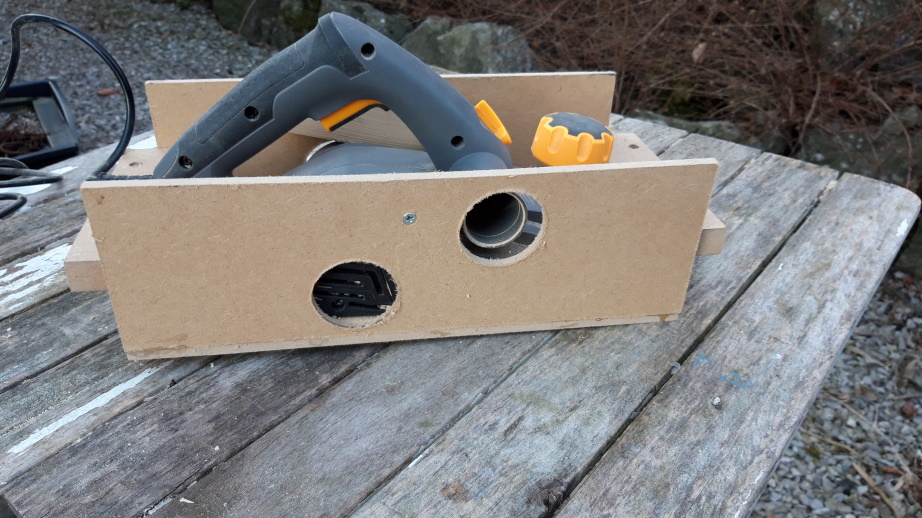
The base of the planer needs to be level or lower than the base of the carriage to allow the blade to touch the wood surface. I needed to cut an extra section to allow some of the planer body to sit flat. Without this my planer would be held on an angle and not have a flat cut. Only the space for the foot of the planer (and the bit of bodywork) is cut out. The rest of the body of the planer stops the planer from falling through the carriage.
Also, my planer has a little foot which allows you to place the planer on a workbench without damaging the blades. I decided to cut a slot for this as you often place the carriage on a bench while you adjust levels or the wood.

My side panels and base are made from 6mm MDF and this seems to be quite strong when glued as a box. Plywood would probably be better and more stable but I don't think it needs to be any thicker.
Finally, my planer is held in place with some scraps of wood. This means I can quickly remove the planer from the carriage if I need to use it on its own. In the photo, you can also see where I marked to cut a small channel for the power cord. I didn't need to do this in the end but you might need to to keep the planer flat in the carriage.
If you'd like to comment on this article or suggest any changes, please use the form below.