
Follow us


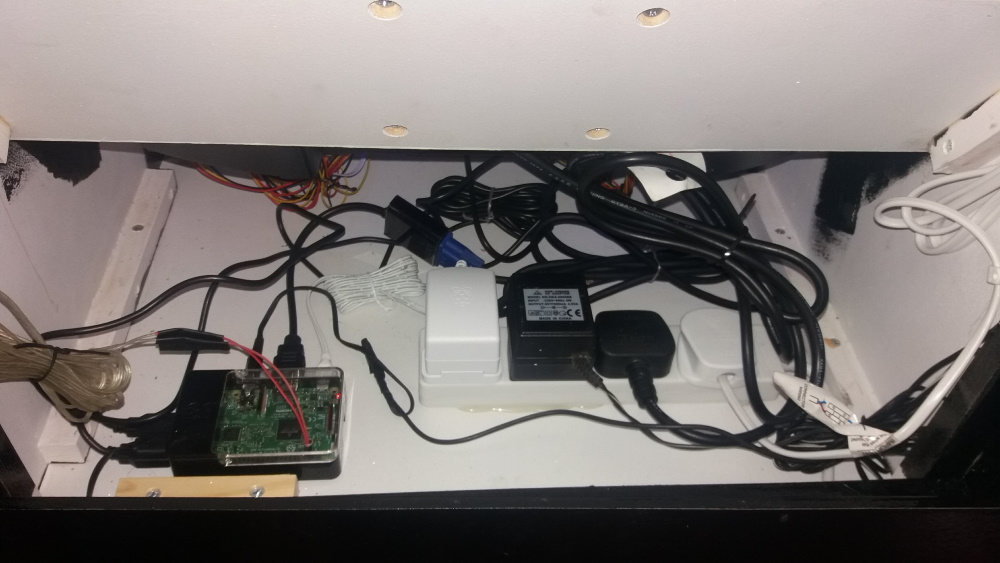
I chose the simplest method for getting power to my cabinet and all of the components. I put a four way extension cable inside the cabinet and ran the lead out the back. A slot was cut so the lead could be tucked inside when not in use or for transportation. If I trusted my skills ith electricity more, I could have added a socket on the back of the cabinet and had a separate lead to provide power (like a kettle lead).
Let's consider what needs power. The Pi, the screen, the speakers and the fluorescent light in the marquee all needed power. The light up buttons take their power from the USB on the Pi. I didn't need to worry about regulating the voltage or amps because I was using the power supplies provided with each component.
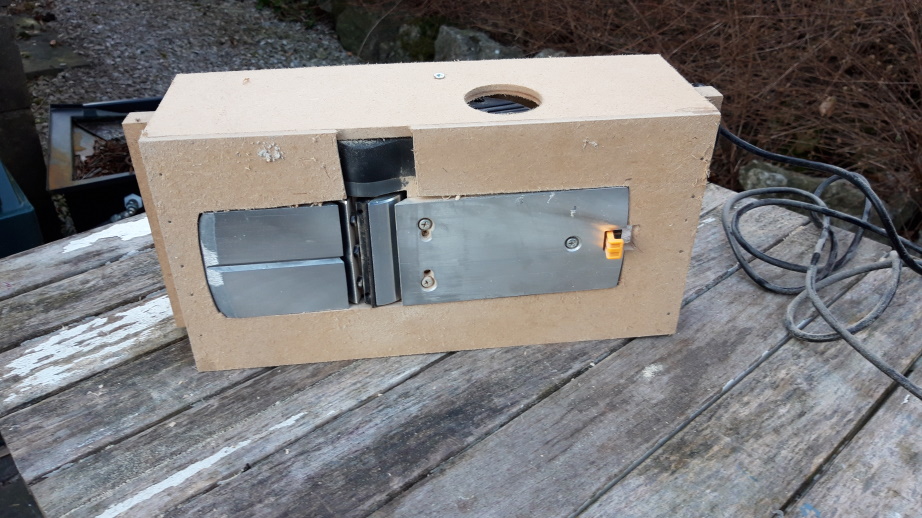
Each component gets connected and then the cables are tidied. I'm not very good at this and far too keen to get playing rather doing housekeeping.
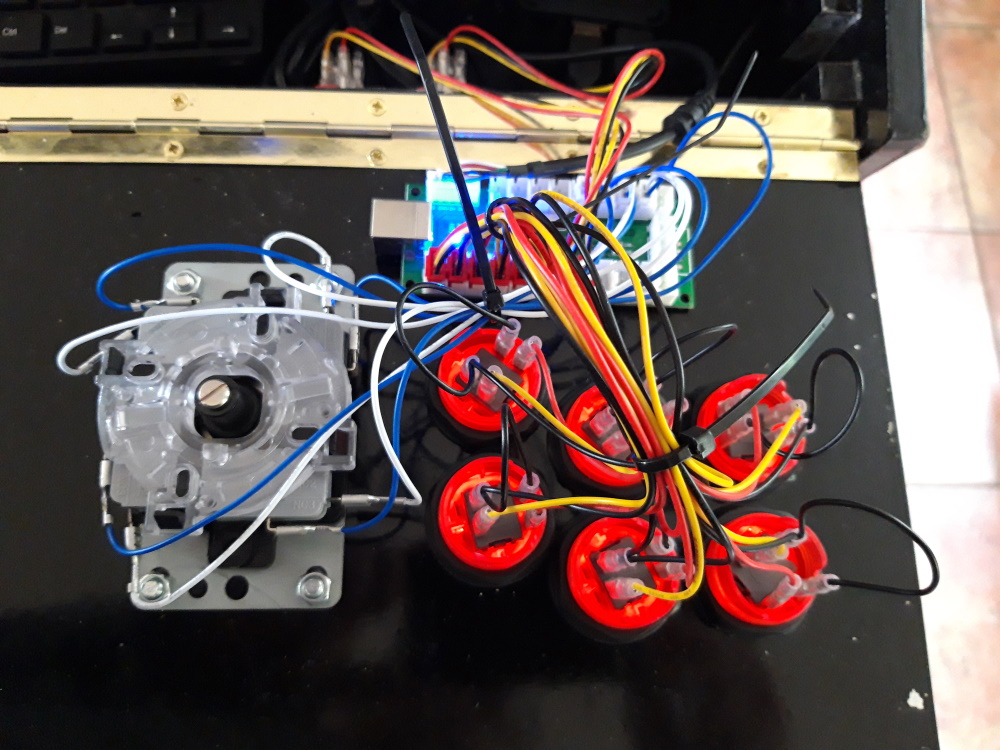
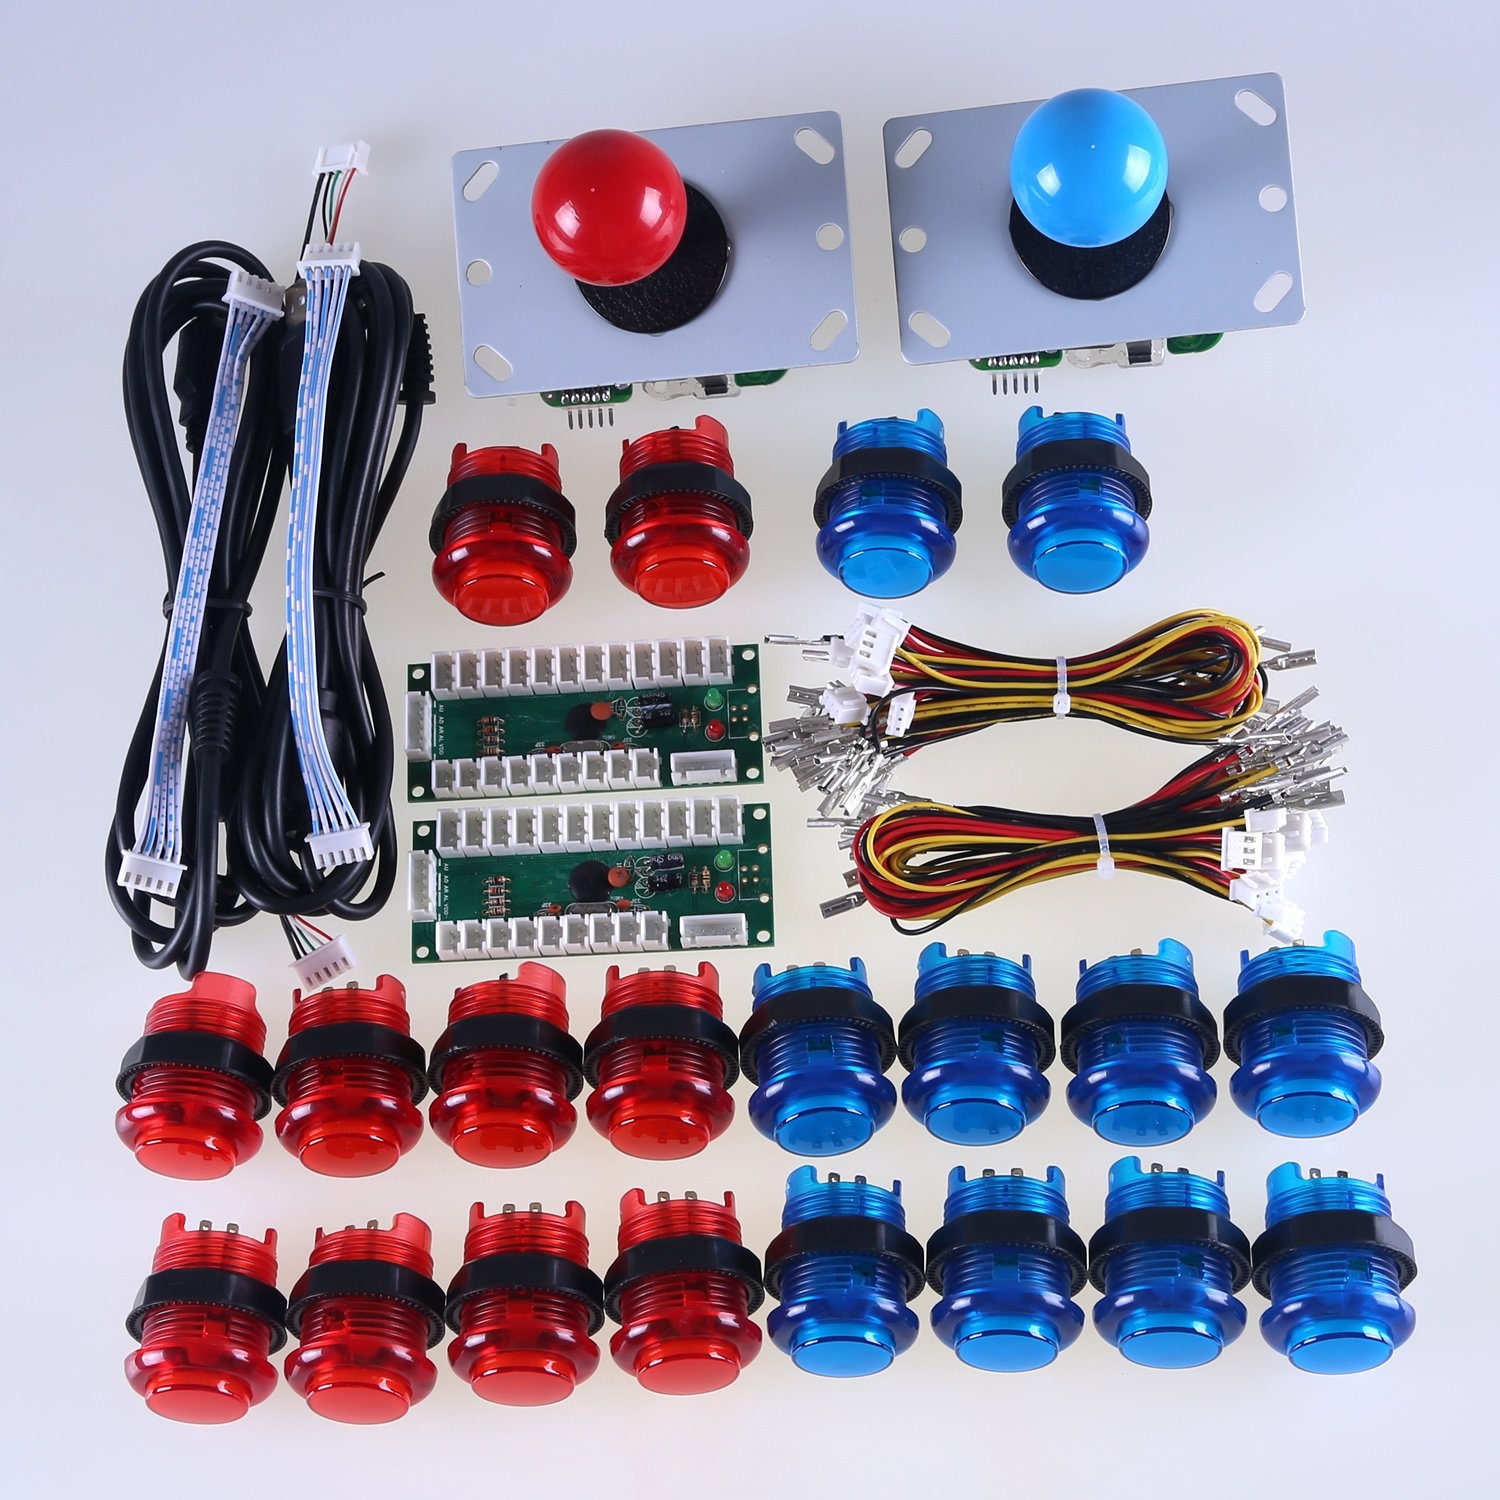
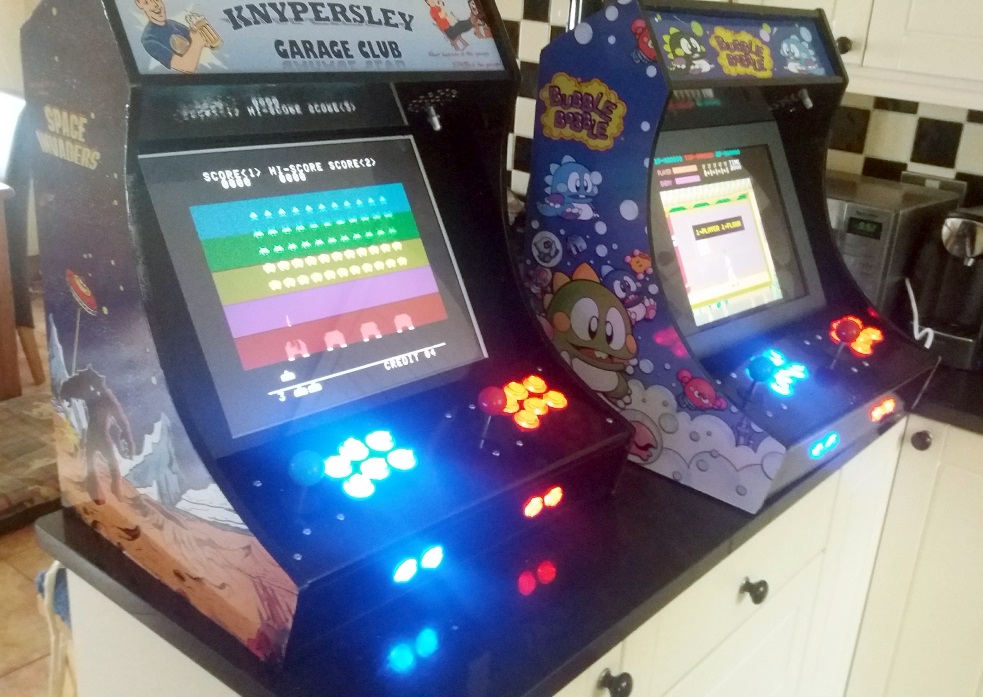
The LED buttons are wired into the Zero Delay USB controllers and then tidied. Double check the wiring if they won't light up because they won't work as expected if wired incorrectly.
For information, I'm currently working on a portable cabinet and want to take the power from a single source (i.e. not a four way extension) to save space. This is much more complicated. I'm pleased to say that the wiring I've done works but I'll need to cover the details in a separate blog post.
If you'd like to comment on this article or suggest any changes, please use the form below.