
Follow us


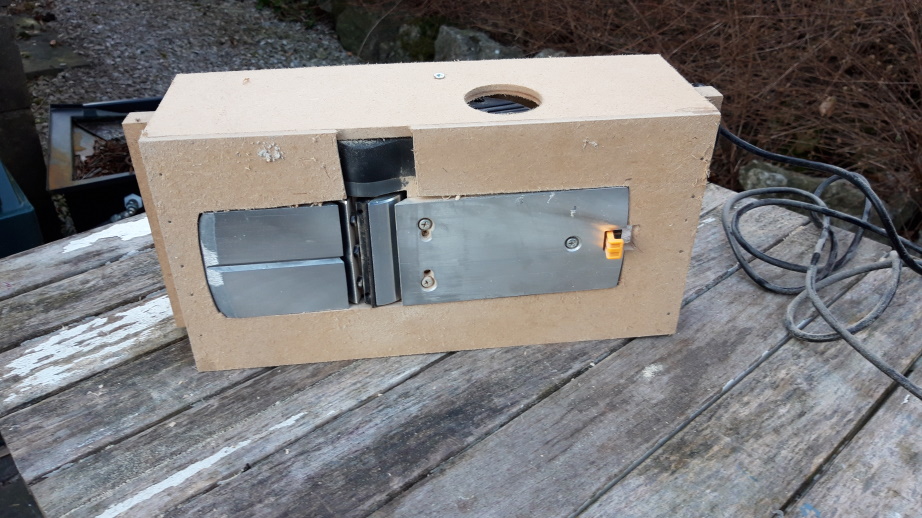
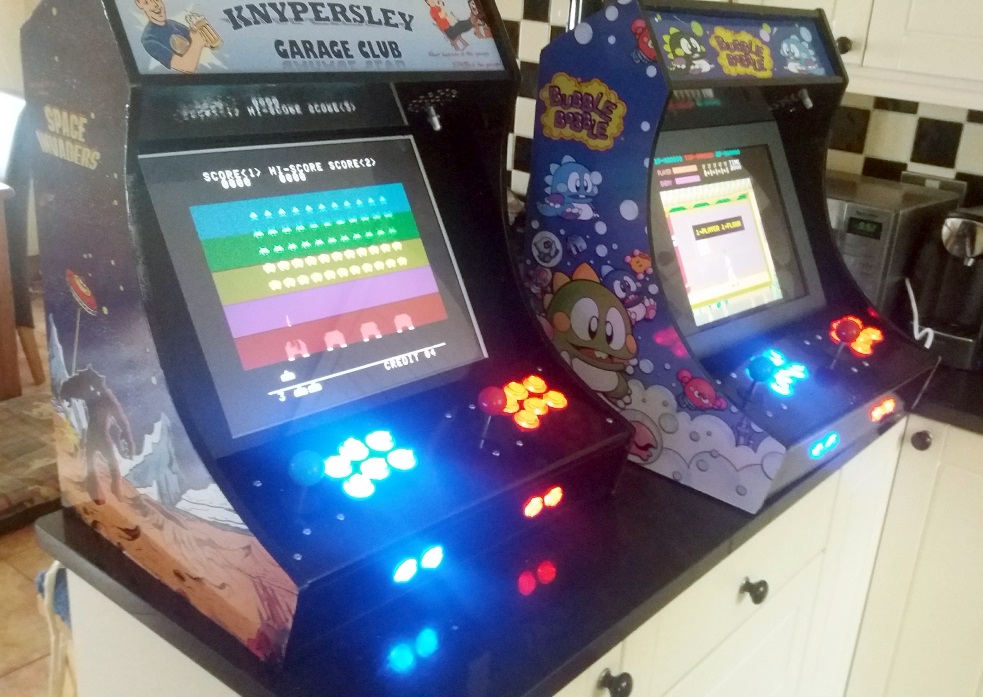
I can't comment much about the choice of buttons. I did some research but I eventually took a chance and order a set of buttons and joysticks from Amazon. I wasn't looking for LED buttons but that's what I ended up with. The two main deciding factors were 1) I liked the buttons which have a screw to hold them in place rather than relying on a clip, and 2) I wanted them to be easy plug and play USB control boards.
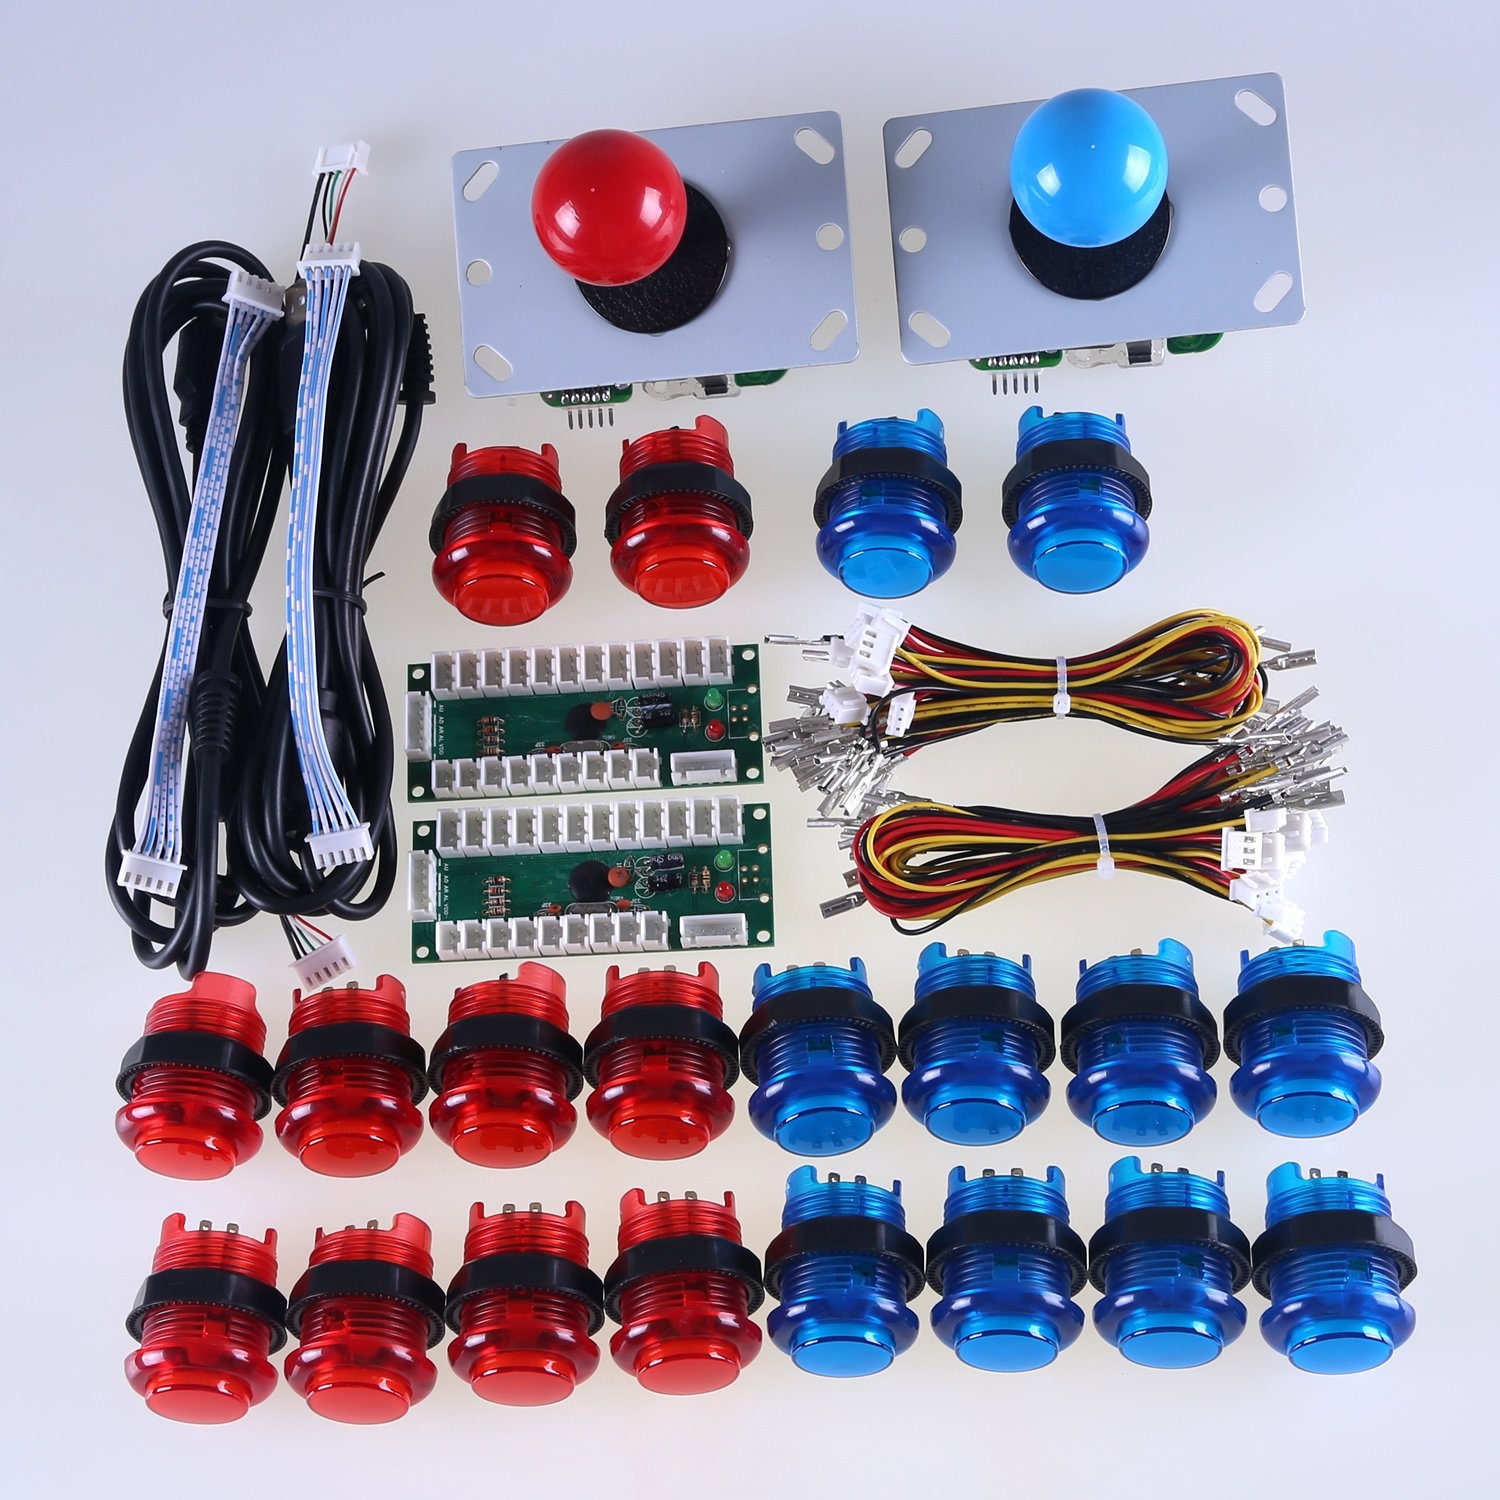
The set I bought is in the photo and are often referred called Reyann. You can also search for Zero Delay which is actually the name of the control board but it's bound to bring up button options. I paid about £45.00 for the set.
The larger buttons require a 30mm hole drilled and the smaller ones are 24mm. The large buttons are your game controls (e.g. jump, fire, etc) and the smaller ones control the machine (e.g. coin input, start, etc).
Other names to search for are Sanwa and Jamma. I can't actually help with these as I've never purchased or used them. However, there are lots of videos and discussions around choices of buttons. I'm happy with my choice and I'd probably buy them again because I know what I'm getting.
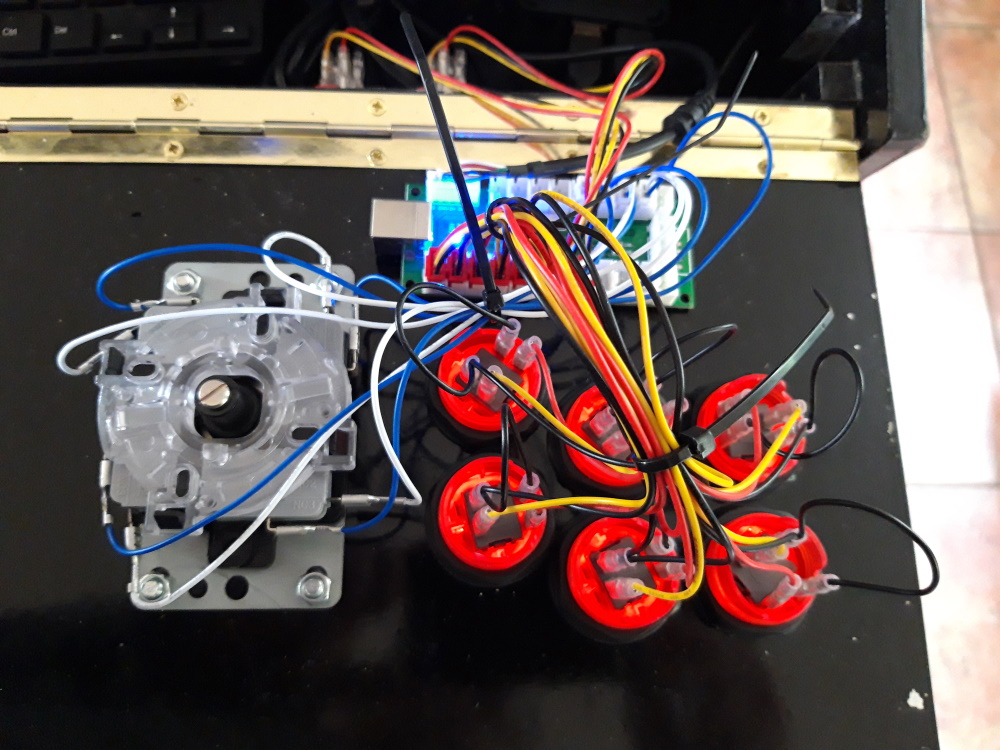
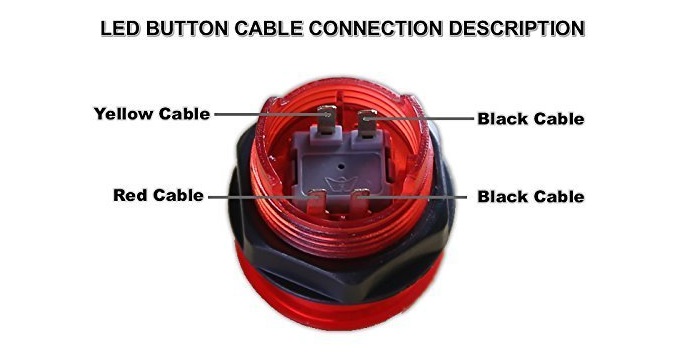
On my set, the LED lights are powered via the USB connection and, as long as I have the correct power supply for the Raspberry Pi, I've never had a problem with power consumption. The image shows how the buttons should be wired. This diagram is included when you buy them but it's good to know when you're doing your research.
If you'd like to comment on this article or suggest any changes, please use the form below.