
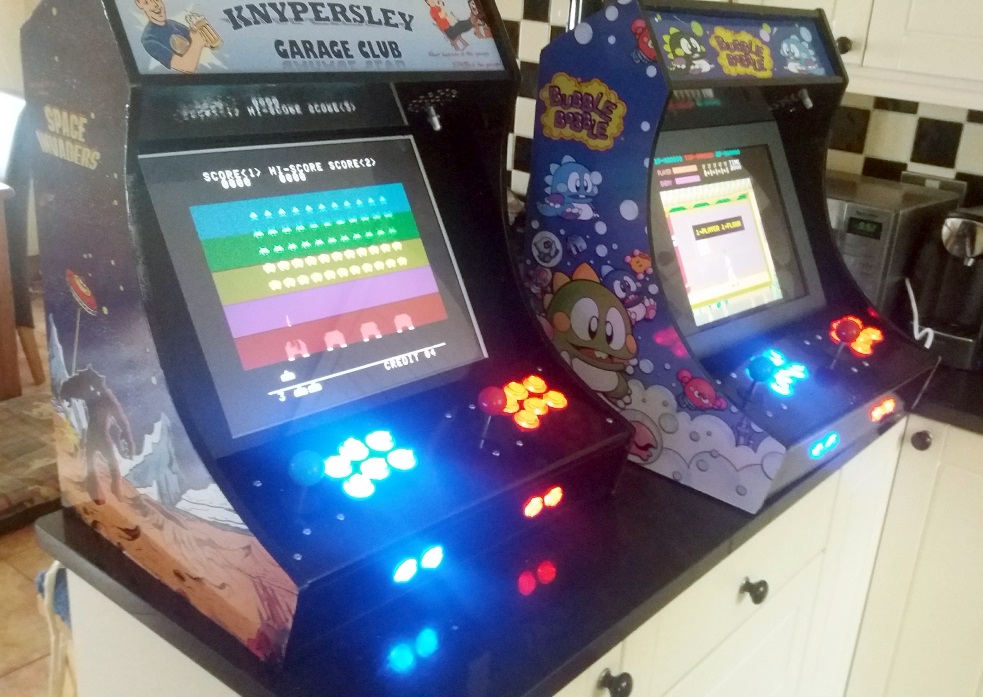
Follow us


Sound in the arcade cabinet can be achieved in various ways. I only play retro games occasionally and I focus mainly on games from my childhood (70's and early 80's) so I don't need state of the art quality or thumping bass.
My screen was an old computer LCD screen so it didn't have speakers like a TV. If your screen has speakers, it is much easier to use them but you will lose some sound quality because the audio will bounce around in the cabinet rather than be directed outwards. Also, I was able to have a separate volume control which would be difficult using the screen speakers.
If I wanted good quality, loud sound and decent bass, I could have opted for a dedicated amp and wired decent speakers into it. I didn't really know what I wanted and, as I was trying to do the builds on a budget, I chose the easiest option I could work out.
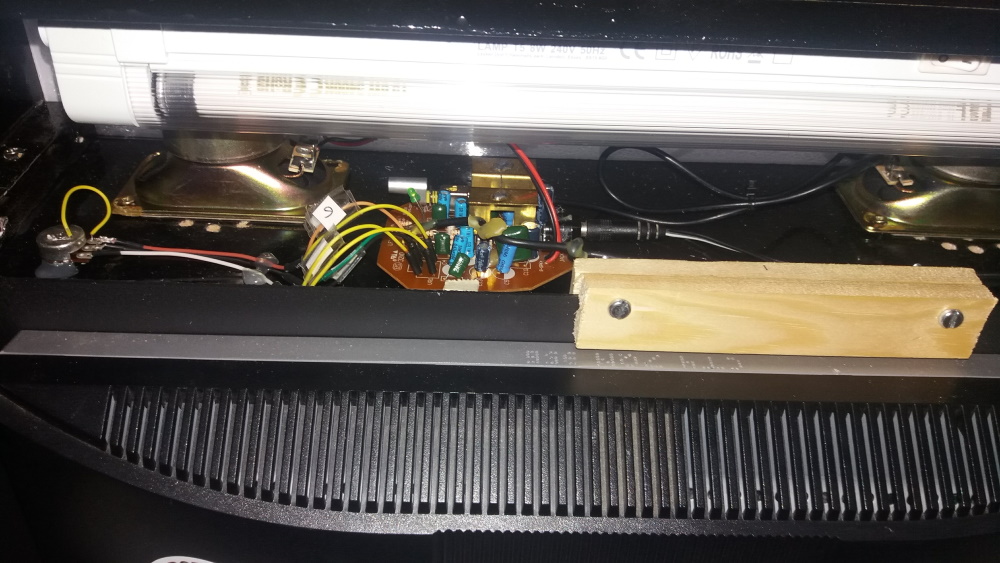
I bought a set of old computer speakers off eBay and they were very cheap. I dismantled the cases and ended up with two bare speakers and the little control board which combines the power and amp.

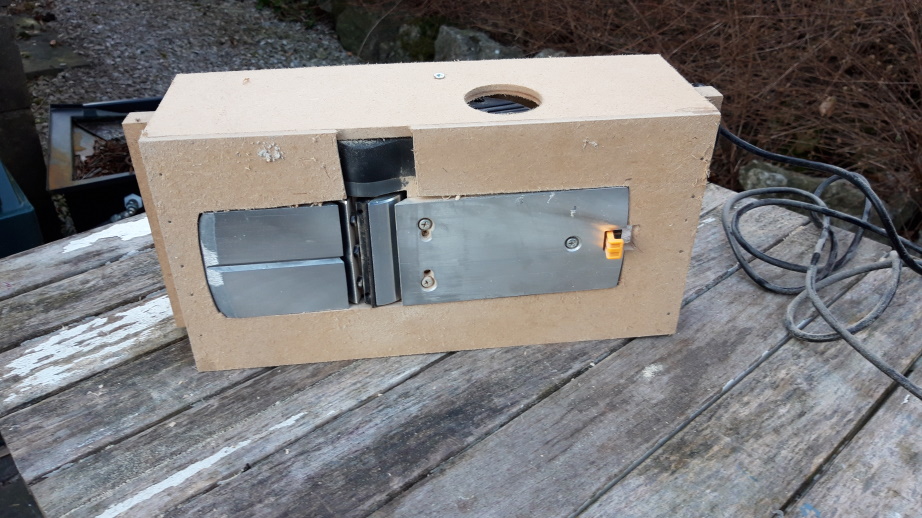
This allowed me to mount the speakers facing towards the player in the bottom board of the marquee (just above the screen).
I drilled a pattern of holes to allow the sound out but a plain hole would work well. I created a template in Powerpoint and stuck it to the board to get accurate positions for drilling.

I mounted the control board next to one of the speakers and this allowed me to extend the volume control so it was easily accessible.
My soldering skills are not great but I needed to replace the original volume pot with one which had a longer shaft. I needed to resolder several times to make sure I had a good connection. The software I use allows you to set up a button combination to change the volume and maybe I should have investigated that in more detail.
By default, the Retropie software sends sound via the HDMI port so you need to either buy an HDMI to VGA adaptor (if your screen is VGA) with a 3.5mm output or, if you plan to use the inbuilt 3.5mm on the Raspberry Pi, you need to change the config to force it.
If you'd like to comment on this article or suggest any changes, please use the form below.